
First Steps
Download
Section titled “Download”Android
Available at Google Play

iOs
Available at App Store

Windows
Contact WISER support for a Windows .exe installer download link.
Connecting to an Arena
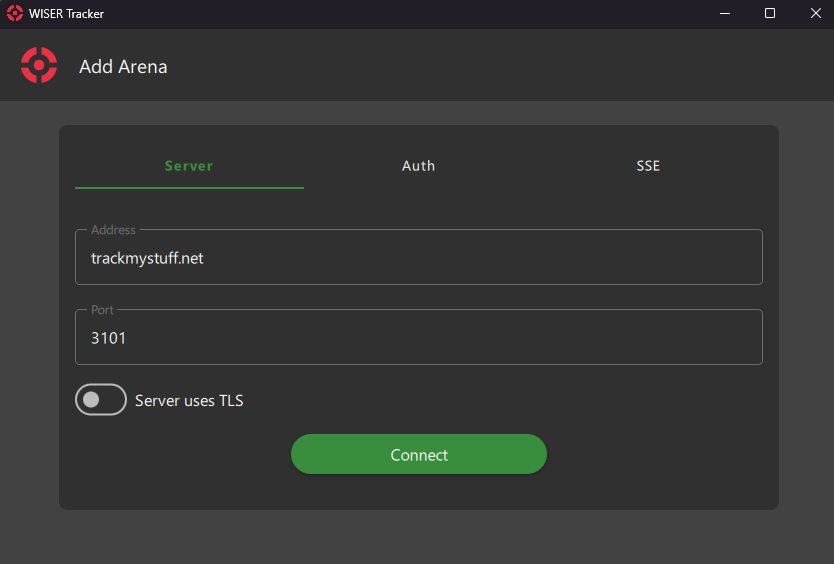
Section titled “Connecting to an Arena”When you open the Tracker App for the first time, the Add Arena Screen will appear
Home Screen
Section titled “Home Screen”Once Connected, you will be redirected to the Home Screen.
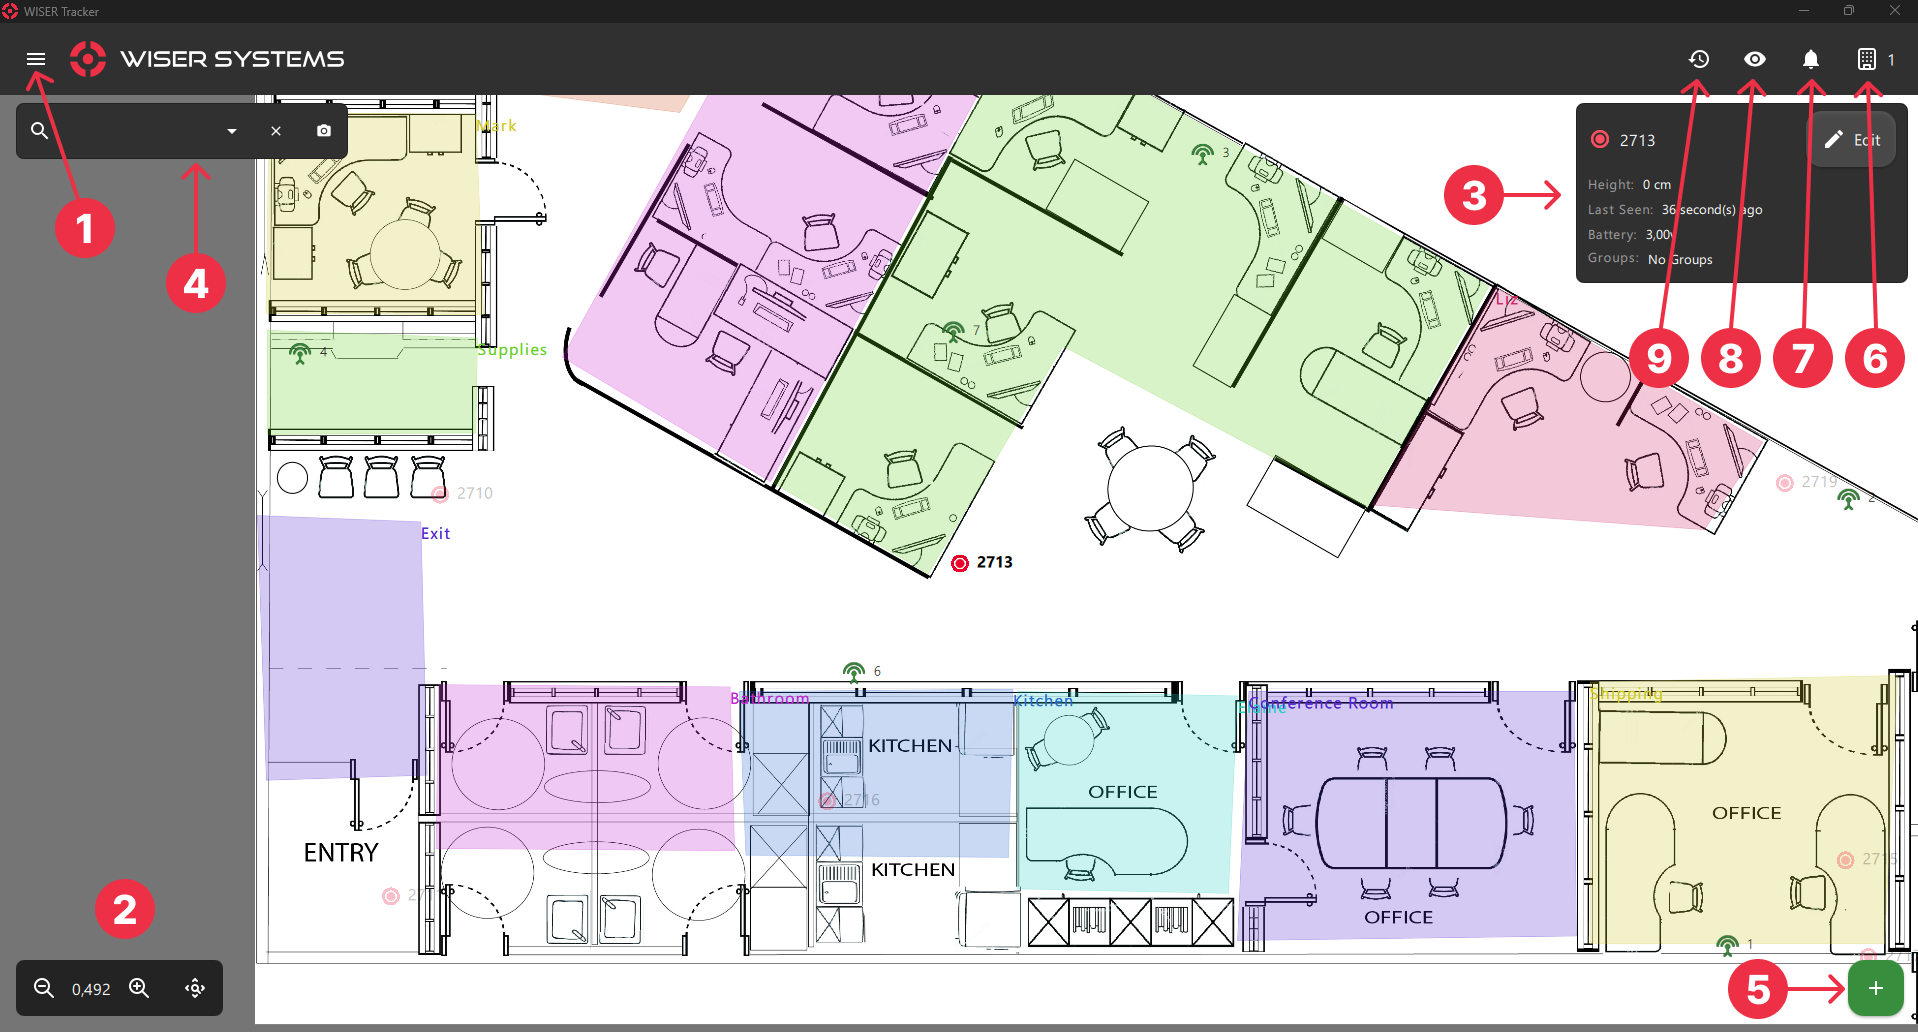
If you have already set a Floorplan Image on the Tracker Server, the same image will be displayed on this screen. Otherwise, you can go to the Settings Screen and upload one.
All Tags inside the Mesh System will show up automatically and you can begin tagging your assets right away. This seamless process enables you to achieve an instant and comprehensive visualization of your assets.
There are many functions available while viewing your arena:
1 - Menu
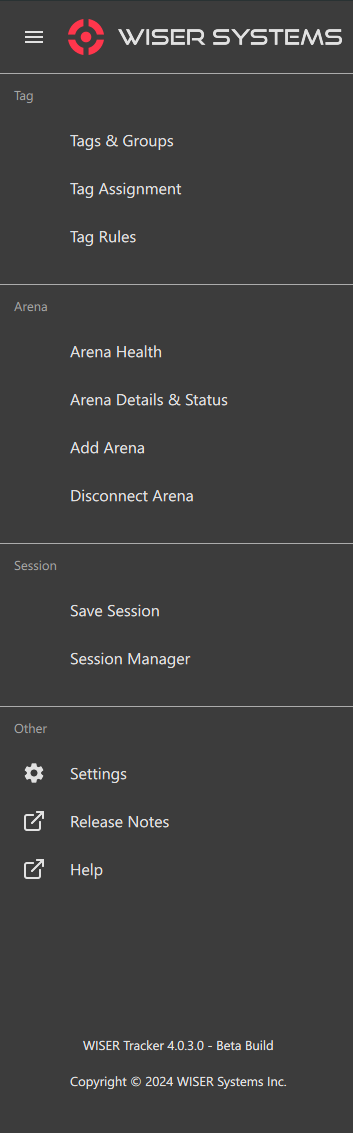
Section titled “1 - Menu”Most pages are available through the Menu.
You can also see the App Version at the bottom of the Menu. Please use this information when reporting a bug.
2 - Zoom & Pan
Section titled “2 - Zoom & Pan”Zoom in and out with your mouse wheel, by pinching on touch devices or by using the controls on the bottom left corner.
Click and Drag your floorplan to view different areas.
3 - Tag Details Panel
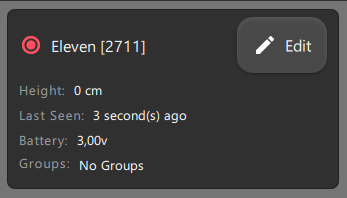
Section titled “3 - Tag Details Panel”You can Click or Tap a Tag to select it and see its Details. This Panel can also be triggered by the Search Bar and the Locate button on the Tags & Groups Screen.
You can click anywhere in the Floorplan to close the Panel.
4 - Search Bar
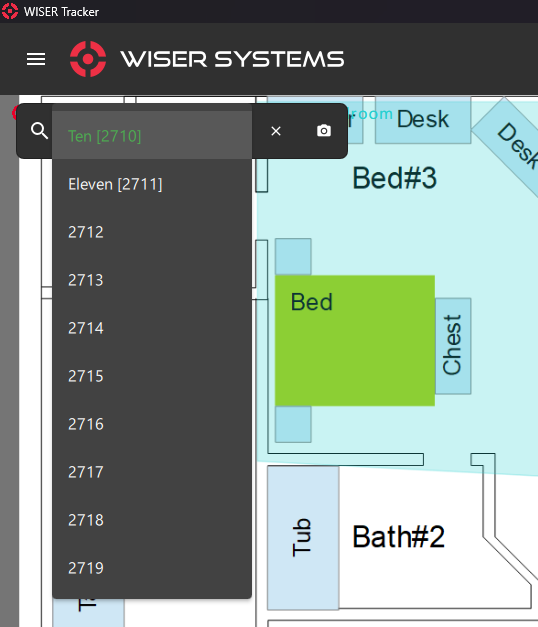
Section titled “4 - Search Bar”You can type a tag Name, Hex Id or Alternate Id in the search bar. The Case Sensitive Settings on the Server General Settings Screen will be taken into consideration and an autocomplete effect will be available.
A dropdown is also available to list all tags from this arena. Click/Tap the name, inside the list, to zoom to that tag and view its First Steps: 3 Tag Details Panel .
You can click the x inside the search bar or anywhere in the Floorplan to close the Panel.
5 - Add Button
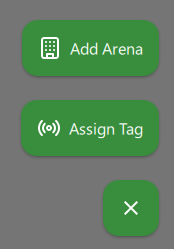
Section titled “5 - Add Button”This Floating Add Button is a shortcut for the Add Arena and Tag Assignment.
6 - Arena List Panel
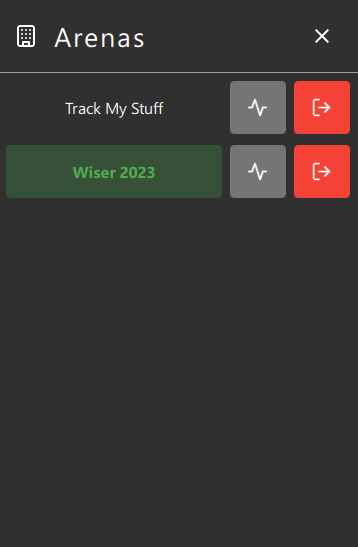
Section titled “6 - Arena List Panel”You can use this Panel to switch between arenas, by clicking the arena’s name, and manage them with ease. The app will also automatically switch to an arena when you click the Locate button on the Tags & Groups Screen or use the Tags & Groups: Arena Filter (Available on some Screens).
Alongside, you will find 2 other buttons, Arena Details & Status and Disconnect Arena.
7 - Notification Panel
Section titled “7 - Notification Panel”Not Yet Available
8 - Visibility Panel
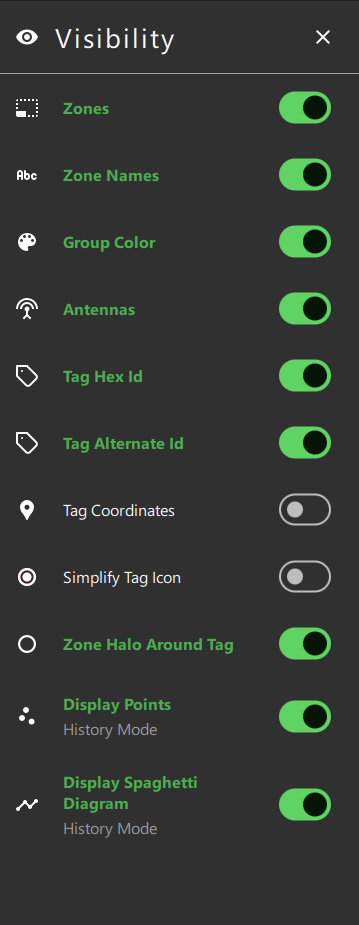
Section titled “8 - Visibility Panel”You can configure the visibility of some features. These options are also available on the Application Settings Screen.
9 - History Mode
Section titled “9 - History Mode”Currently, a Tag must be selected for History Mode to work.
When in History Mode, the Visibility Options “Display Points” and Display Spaghetti Diagram“ will take effect, if enabled.